Hey there, fellow garden enthusiasts! Today, we’re diving into the wonderful world of dill – that fragrant herb that adds a burst of flavor to countless dishes. Get ready to embark on a dill-growing adventure with me as your guide. From planting to pruning, I’ve got all the tips and tricks you need for dill-growing success. So, let’s get started!
Unveiling Dill’s Delights: Benefits and Uses
Let’s kick things off by exploring the fantastic benefits and typical uses of dill. This aromatic herb isn’t just a flavor powerhouse – it’s also packed with nutritional goodness. Dill is rich in vitamins A and C, as well as minerals like iron and manganese. Its antioxidant properties make it a valuable addition to your diet, aiding digestion, reducing inflammation, and even freshening your breath. When it comes to culinary uses, the possibilities are endless. Dill’s delicate flavor pairs perfectly with fish, poultry, and eggs, adding a bright and herbaceous note to dishes. It’s also a classic ingredient in pickles, salads, and dips, lending its distinctive taste to a variety of culinary creations.
Dazzling Diversity: Exploring Dill’s Different Varieties
Did you know that dill comes in various varieties, each with its own distinct flavor and aroma? From the classic Fernleaf dill with its feathery foliage to the robust Bouquet dill, there’s a dill variety to suit every taste and culinary preference. Fernleaf dill is prized for its compact growth habit, making it ideal for container gardens or small spaces. Bouquet dill, on the other hand, boasts large, flavorful leaves and is a favorite among home gardeners and chefs alike. Other popular varieties include Mammoth dill, Long Island Mammoth dill, and Hera dill, each offering its own unique characteristics and culinary potential. Experimenting with different varieties allows you to explore the nuances of Dill’s flavor profile and find the perfect match for your culinary creations.
Eternal Essence: Decoding Dill’s Annual or Perennial Nature
One of the great things about dill is its versatility as both an annual and perennial herb. While most commonly grown as an annual, dill can also be cultivated as a perennial in warmer climates or with proper care and maintenance. As an annual, dill completes its life cycle within a single growing season, producing flavorful leaves, seeds, and flowers. As a perennial, dill can continue to thrive and provide harvests year after year, making it a valuable addition to any herb garden. Perennial dill plants may require additional protection in colder climates, but their ability to regrow year after year makes them a sustainable and rewarding investment for home gardeners.
Sun-Kissed Splendor: Dill’s Preference for Sunlight
When it comes to sunlight preferences, dill is quite versatile and can tolerate a range of light conditions. While it prefers full sun for optimal growth and flavor development, dill can also thrive in partial shade, especially in hot climates. Whether you’re growing dill in a sunny garden bed or a partially shaded container, providing adequate sunlight is essential for healthy and productive plants. Dill plants that receive insufficient sunlight may become leggy or produce fewer leaves, so it’s important to place them in a location where they can soak up the sun’s rays for at least six to eight hours per day.
Winter Warriors: Tips for Dill’s Winter Care
As the temperatures drop and winter approaches, it’s essential to take steps to protect your dill plants from the cold. While dill is relatively hardy and can tolerate light frosts, prolonged exposure to freezing temperatures can damage or kill the plants. To protect your dill plants from winter weather, consider mulching around the base of the plants to insulate the soil and protect the roots from freezing. You can use organic materials such as straw, shredded leaves, or compost to create a protective layer over the soil.
Additionally, covering your dill plants with a layer of frost cloth or row cover can provide extra insulation and help retain heat during cold snaps. If you’re growing dill in containers, consider bringing the pots indoors or placing them in a sheltered location during particularly cold weather. With a little extra care and attention, you can ensure that your dill plants survive the winter months and continue to thrive when spring arrives.
Seedling Sprouts vs. Seedling Secrets: Choosing How to Grow Dill
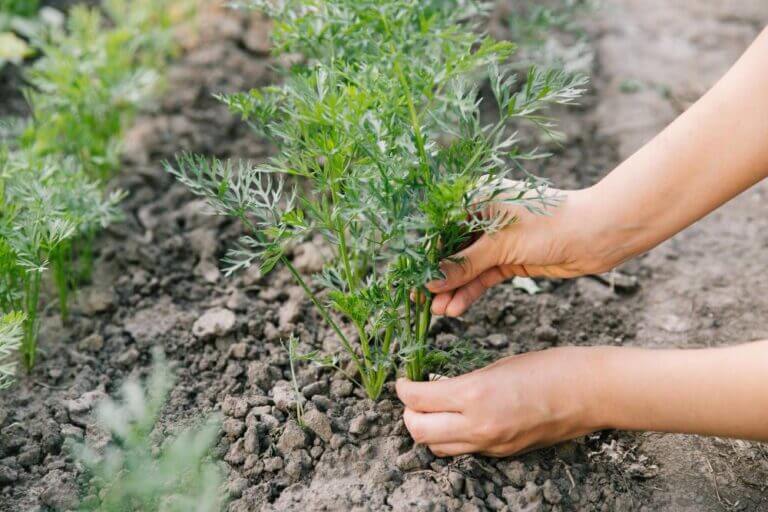
When it comes to growing dill, you have two primary options: starting from seeds or purchasing seedlings. Starting from seeds allows you to experience the full growing cycle of dill, from germination to harvest. It also gives you more control over the variety of dill you grow and allows you to save seeds for future plantings. To sow dill seeds, prepare a well-draining planting site in full sun and sow the seeds directly into the soil, covering them lightly with a thin layer of soil. Water the seeds gently and keep the soil evenly moist until germination occurs, typically within 7-10 days. Once the seedlings have emerged, thin them to a spacing of 12-18 inches apart to allow for proper growth and air circulation.
Alternatively, you can purchase dill seedlings from a local nursery or garden center and transplant them into your garden or containers. Seedlings provide a head start on harvesting fresh dill and can be a convenient option for gardeners with limited time or space. When transplanting seedlings, be sure to space them properly and water them thoroughly to help them establish roots in their new environment.
Cutting-Edge Cultivation: Growing Dill from Cuttings
While dill is typically grown from seeds, it is possible to propagate it from cuttings under the right conditions. Select a healthy dill plant with strong, vigorous growth, and use clean, sharp scissors or pruning shears to take a cutting from the stem. Choose a stem that is several inches long and has at least two sets of leaves. Remove any lower leaves from the cutting and dip the cut end into a rooting hormone powder to encourage root development. Plant the cutting in a small pot filled with moist potting mix, making sure that at least one node is buried beneath the soil surface. Place the pot in a warm, sunny location and keep the soil consistently moist until roots begin to form, typically within 2-3 weeks.
Once the cutting has developed a healthy root system, you can transplant it into a larger pot or directly into the garden. While growing dill from cuttings may require a bit more patience and care than starting from seeds, it can be a rewarding way to propagate new plants and expand your dill garden.
Indoor or Outdoor? Growing Dill in Any Space
Growing dill can be a delightful experience whether you have a spacious garden or just a sunny windowsill. If you’re limited on outdoor space or live in a colder climate, growing dill indoors is a fantastic option. Choose a location near a bright window where your dill plants can receive at least six to eight hours of sunlight each day. Alternatively, if you have the luxury of outdoor space, dill thrives in well-draining soil and full sun. Whether you’re tending to your dill plants on a balcony, patio, or in a backyard garden, providing them with adequate sunlight and proper care will ensure a bountiful harvest of fresh dill leaves and seeds.
Soil Secrets: Unveiling the Best Soil for Dill
When it comes to growing dill, soil quality plays a crucial role in the success of your plants. Dill prefers well-draining soil with a slightly acidic to neutral pH level, loamy soil that is high in organic matter provides the perfect environment for dill to thrive. Consider amending your soil with compost or aged manure to improve its texture and fertility. Additionally, ensure that the soil is loose and aerated to promote healthy root development and prevent waterlogging, which can lead to root rot. By providing your dill plants with nutrient-rich soil, you’ll set them up for success and enjoy a plentiful harvest of flavorful dill.
Potting Perfection: Growing Dill in Containers
Growing dill in pots is a convenient option for gardeners with limited space or those who want to enjoy fresh herbs on their doorstep. To grow dill in a pot, choose a container that is at least 12 inches deep and has drainage holes in the bottom to prevent waterlogging. Fill the pot with a well-draining potting mix, leaving about an inch of space between the soil surface and the rim of the pot. Plant dill seeds or seedlings in the center of the pot, spacing them evenly apart. Water the soil thoroughly after planting and place the pot in a sunny location where it will receive six to eight hours of sunlight each day. Keep the soil consistently moist but not waterlogged and fertilize the dill plants with a balanced fertilizer every four to six weeks to promote healthy growth.
Hydroponic Hype: Cultivating Dill Hydroponically
For those looking to take their dill-growing game to the next level, hydroponic cultivation offers a unique and efficient method for growing herbs indoors. Hydroponic systems provide plants with a nutrient-rich solution instead of soil, allowing them to grow faster and produce higher yields in a controlled environment. To grow dill hydroponically, set up a hydroponic system with a reservoir, pump, and growing tray filled with a nutrient solution. Plant dill seeds or seedlings in the growing medium, ensuring that the roots are submerged in the nutrient solution. Place the hydroponic system in a well-lit area or under grow lights to provide the dill plants with adequate light for photosynthesis. Monitor the nutrient levels and pH of the solution regularly to ensure optimal growth and productivity. With proper care and attention, you’ll be harvesting fresh dill from your hydroponic garden in no time.
Thirsty Thrive: Watering Wonders for Dill
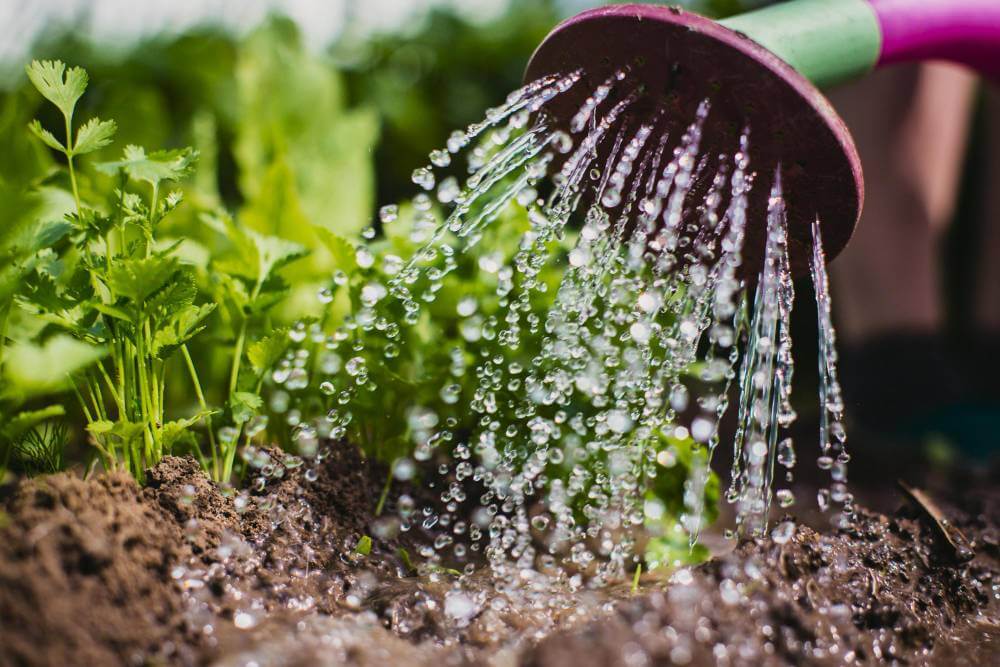
Watering is a critical aspect of dill care, as it helps maintain soil moisture levels and ensures healthy plant growth. Dill plants prefer consistently moist soil, so water them regularly, especially during hot, dry weather. However, it’s essential to avoid overwatering, as dill is susceptible to root rot in waterlogged soil. Instead, aim to water dill plants deeply but infrequently, allowing the soil to dry out slightly between waterings. When watering, aim to moisten the soil evenly, ensuring that water reaches the roots of the plants. Consider using a soaker hose or drip irrigation system to deliver water directly to the soil and minimize water waste. By providing your dill plants with the right amount of water, you’ll promote healthy growth and ensure a bountiful harvest of fresh dill.
Planting Partners: Dill’s Companions in the Garden
Companion planting with dill is a smart strategy for promoting plant health, repelling pests, and attracting beneficial insects to your garden. Dill is a fantastic companion plant for a variety of herbs, flowers, and vegetables, including tomatoes, cucumbers, carrots, and brassicas. Its aromatic foliage helps repel pests like aphids, spider mites, and cabbage worms, protecting neighboring plants from damage. Dill also attracts beneficial insects such as ladybugs, lacewings, and hoverflies, which prey on harmful pests and pollinate flowering plants. Consider interplanting dill with your favorite garden crops to create a biodiverse and pest-resistant growing environment that will benefit all your plants.
Pruning Paradise: Dill’s Trimming Techniques
Pruning is an essential aspect of dill care that helps promote healthy growth and prolong the harvest season. When dill plants reach a height of 12 to 18 inches, pinch off the growing tips to encourage bushier growth and prevent the plants from becoming leggy. You can also harvest individual leaves and stems as needed for culinary use, taking care not to remove more than one-third of the plant at a time. Regular pruning will help keep your dill plants compact and productive, ensuring a steady supply of fresh leaves and seeds throughout the growing season.
Pest Patrol: Keeping Dill-Damaging Pests at Bay
Despite its aromatic foliage, dill is still susceptible to attack by common garden pests such as aphids, spider mites, and caterpillars. To protect your dill plants from pests, inspect them regularly for signs of infestation, such as yellowing leaves, distorted growth, or the presence of pests themselves. If you notice any pests, gently remove them by hand or blast them off with a strong stream of water. Alternatively, you can use organic pest control methods such as neem oil spray, insecticidal soap, or beneficial insect releases to manage pest populations naturally. By staying vigilant and taking proactive measures, you can keep your dill plants healthy and pest-free throughout the growing season.
Dill Delights: Embark on a rewarding journey
Growing dill is a rewarding and enjoyable experience that offers a multitude of culinary possibilities. By following these detailed tips and techniques, you’ll be well on your way to cultivating lush, flavorful dill plants that will add a touch of freshness and zing to your favorite dishes.
So, roll up your sleeves, and let’s embark on a dill-growing adventure together! Don’t forget to check out my other posts for more gardening tips and tricks.
